
Creating a keepsake wall from your baby shower photo booth prints is a fun way to celebrate memories! Start by selecting a theme, like baby animals or minimalist prints, to give your display personality. Use a grid or gallery-style layout for visual impact, and choose frames that match your decor, like acrylic or wooden styles. Don’t forget to hang them at eye level for the best effect. Stick around, and you’ll discover more tips to make your wall truly special!
Theme-Based Print Selection
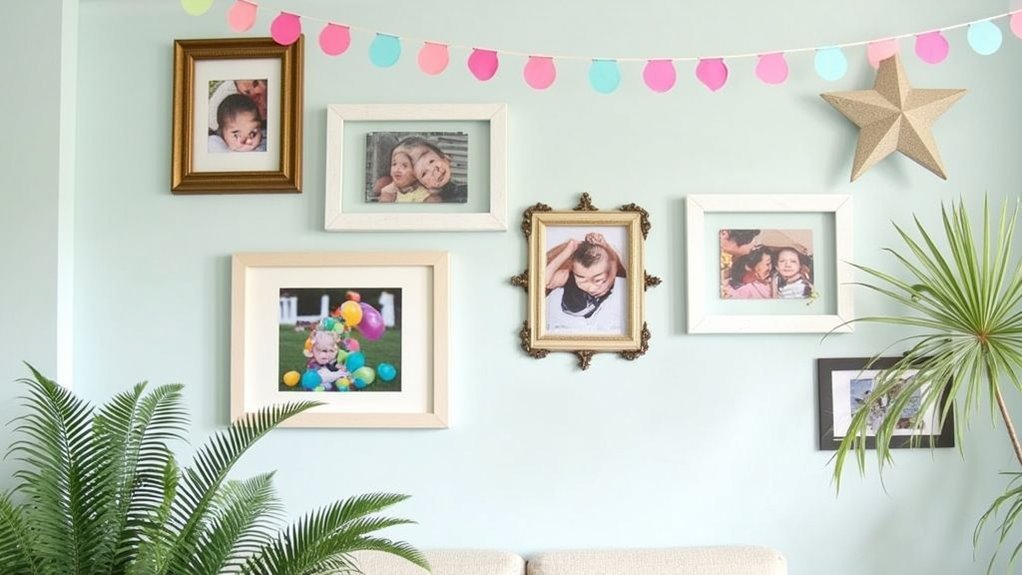
When you’re planning a keepsake wall for a baby shower, choosing the right theme-based prints can set the perfect tone for the celebration. Baby animal themes add a playful feel, featuring cute elephants or bunnies in soft blue and pink hues. Gender-reveal prints, with pastel pink backgrounds and floral patterns, can enhance a feminine touch. For a more neutral approach, minimalist prints with modern typography and simple props like sunglasses offer versatility. If you adore rustic charm, consider warm autumn shades with wooden textures and vintage props. Finally, custom prints that include the baby’s name and themed props can make the wall truly unique. Each choice creates memorable moments for you and your guests! Additionally, utilizing theme-based designs from high-quality templates can elevate the overall aesthetic of your keepsake wall and ensure a visually captivating experience. It’s important to select photo booth options that complement your theme to create a cohesive visual narrative.
Designing Your Keepsake Wall
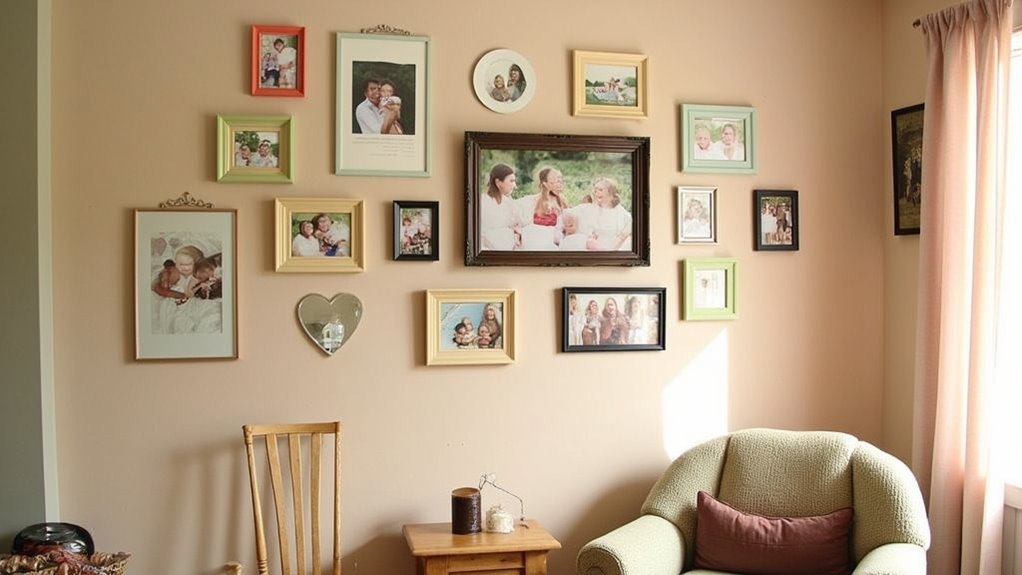
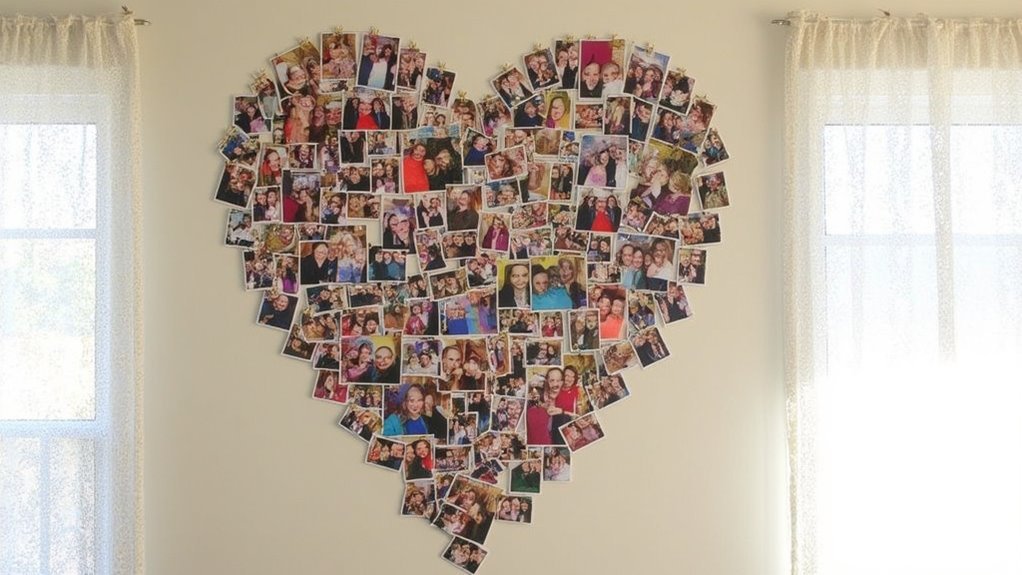
Creating a memorable keepsake wall isn’t just about choosing the perfect theme-based prints; it’s also about how you design and arrange them to tell a beautiful story. You might consider a grid layout for a clean, organized appearance, or a salon-style arrangement, which creates a fun gallery-like feel. For simplicity, a linear arrangement keeps focus on each print. Don’t forget to include mixed media elements like small shelves or decorative plaques, as they add depth and character. Using photo display methods can also help you efficiently showcase your prints while maintaining a clutter-free wall design. Additionally, integrating vintage photo frames creates a nostalgic atmosphere that beautifully complements the cherished memories. Make certain your prints have consistent spacing of 2-3 inches to enhance overall harmony. Additionally, using horizontal moulding strips can create ledges for effortless picture swapping, allowing for a dynamic display. Finally, choose a smooth, neutral wall color to let the prints shine, and plan your layout with painter’s tape to minimize errors. Happy decorating!
Framing Options for Your Prints
Framing options for your baby shower prints can make a huge difference in how they look and feel on your keepsake wall. Shadow box frames are great for adding depth while allowing you to include 3D keepsakes along with your prints. If you prefer a modern touch, acrylic frames are clear, sleek, and minimalist. Wooden frames give your display a warm, classic feel and can be customized to match your nursery theme. For showcasing multiple photos, collage frames are perfect. Floating frames create a fetching illusion that your prints are suspended in air. Don’t forget to reflect on personalized touches, like names or dates, which can enhance the sentimental value of your beautiful keepsake wall!
Effective Hanging Strategies
To make your keepsake wall truly shine, you’ll want to contemplate effective hanging strategies that not only grab attention but also create a cohesive look. Start by laying out your photo booth prints on a flat surface to experiment with different arrangements. Use paper templates traced from your prints to visualize the layout on the wall without making extra holes. Tape them up to preview how it’ll all look, making sure you use a level for straightness. When you’re ready to hang, consider small nails, picture hooks, or adhesive strips depending on your wall type. Keep the prints at eye level for the best impact and cluster them closely for that gallery wall vibe. Enjoy the process!
Preserving Your Baby Shower Memories
Once you’ve perfected your hanging strategies and set up your keepsake wall, it’s time to think about how you’ll preserve those precious baby shower memories for years to come. Here are some fun ideas to safeguard those cherished moments:
- Use keepsake boxes to store mementos, keeping them organized and safe.
- Create a scrapbook that showcases your favorite photos alongside decorative touches.
- Make handprint or footprint keepsakes to capture those tiny, unforgettable milestones.
- Incorporate shadow boxes for a three-dimensional display with photos and baby items.
- Digitally back up your memories by scanning and saving both physical and digital copies.
Creative Display Alternatives
How can you make your baby shower memories really stand out? Consider some creative display alternatives! You can use modified frames made from wood or recycled materials for a unique flair. For a rustic vibe, hang photos from strings or twine using wooden dowels or clips. Want something visually striking? Create framed collages that merge multiple images into one appealing display. Canvas prints add a professional touch, while glass frames can bring elegance and clarity to your photos. Mix in themed backgrounds and patterns for added depth, and don’t forget festive ribbons or bows! By mixing frame sizes, you create a dynamic look, ensuring your memories shine brightly on your keepsake wall.
Frequently Asked Questions
How Do I Choose a Photo Booth Service for My Baby Shower?
When choosing a photo booth service for your baby shower, consider customization options, prop variety, customer reviews, and transparent pricing. You want a reliable provider that guarantees high-quality prints and a seamless experience for your guests.
Can I Include Digital Prints in My Keepsake Wall?
Absolutely, you can include digital prints in your keepsake wall. They offer endless design flexibility, enhance your theme, and can be easily edited for a personal touch, making your wall uniquely yours in every way.
What Size Prints Work Best for a Keepsake Wall?
For a keepsake wall, 4×6 inches works best for traditional layouts, while 5×7 inches enhances visibility. Incorporating a mix of larger and smaller prints creates balance and visual interest, making your display more engaging.
How Do I Safely Remove Photos Without Damaging the Wall?
Removing photos without damaging your wall feels like defusing a bomb! Just pull the strip down steadily, avoid yanking, and enlist some heat if needed. You’ll conquer those stubborn adhesives without leaving a mark behind!
What Materials Are Best for DIY Photo Booth Props?
For DIY photo booth props, you’ll want durable heavyweight cardstock, sturdy sticks or handles, and strong adhesives. Adding embellishments like glitter or fabric enhances aesthetics, while tools like scissors or Cricut machines guarantee precise cuts.
Conclusion
Creating a enchanting keepsake wall from your baby shower photo booth prints can turn cherished memories into a delightful display. With thoughtful themes, stylish frames, and clever hanging tricks, you’ll craft a charming collage that tells your unique story. Remember, each print captures precious moments, preserving laughter and love for years to come. So gather those gorgeous snapshots, and let your creativity shine! Your beautiful baby shower memories deserve to be celebrated and proudly showcased!